
-
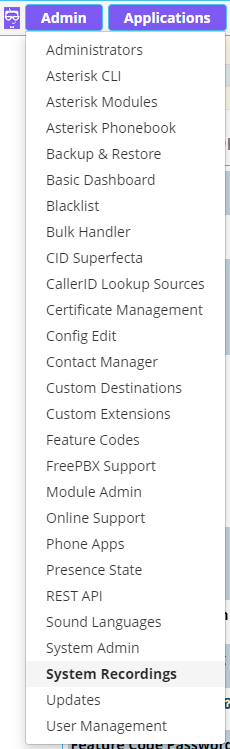
In your Voice Portal navigate to Admin > System Recordings
-
Click the button:

-
Here we will discuss the setting needed to creating a new system recording. Each one of these settings has a tooltip
 that will go into greater detail if you need it.
-
Name (required) and Description (optional) are used for your reference so you know what this recording is and its purpose without having to listen to it.
-
There are three different ways we can add/record a message.
-
Upload Recording: If you already have a recording and simply want to add it, you can upload it with this option. You can either browse and find the file on your PC or drag and drop the file into that box.


-
Record in browser: By clicking the red button, you can start recording a message. You can press the red stop button once more when you have completed your recording. You can press the green play button to play it back. If the message sounds good, you can save it. The save button only appears after you’ve recorded something. This recording type requires you to have a headset available and plugged into the PC to use the microphone to record.
-
Record over extension: Call your extension and record the message over a phone call.

Once you hang up the call you will name the recording and save it

-
-
-
After a recording is added, you will see it in this view where you can listen to it or remove it if you need to re-record.

-
Once you’ve finished recording your message and verified its accuracy, you can click the submit button down at the bottom of the screen.

-
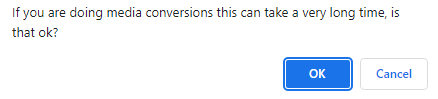
Press “OK” on the pop-up, it will convert the audio, this could take a minute depending on the length of the recording.
-
Click the “Apply Config” in the top right of the screen.

Comments
0 comments
Please sign in to leave a comment.